How to Work With Log Creative LUTs

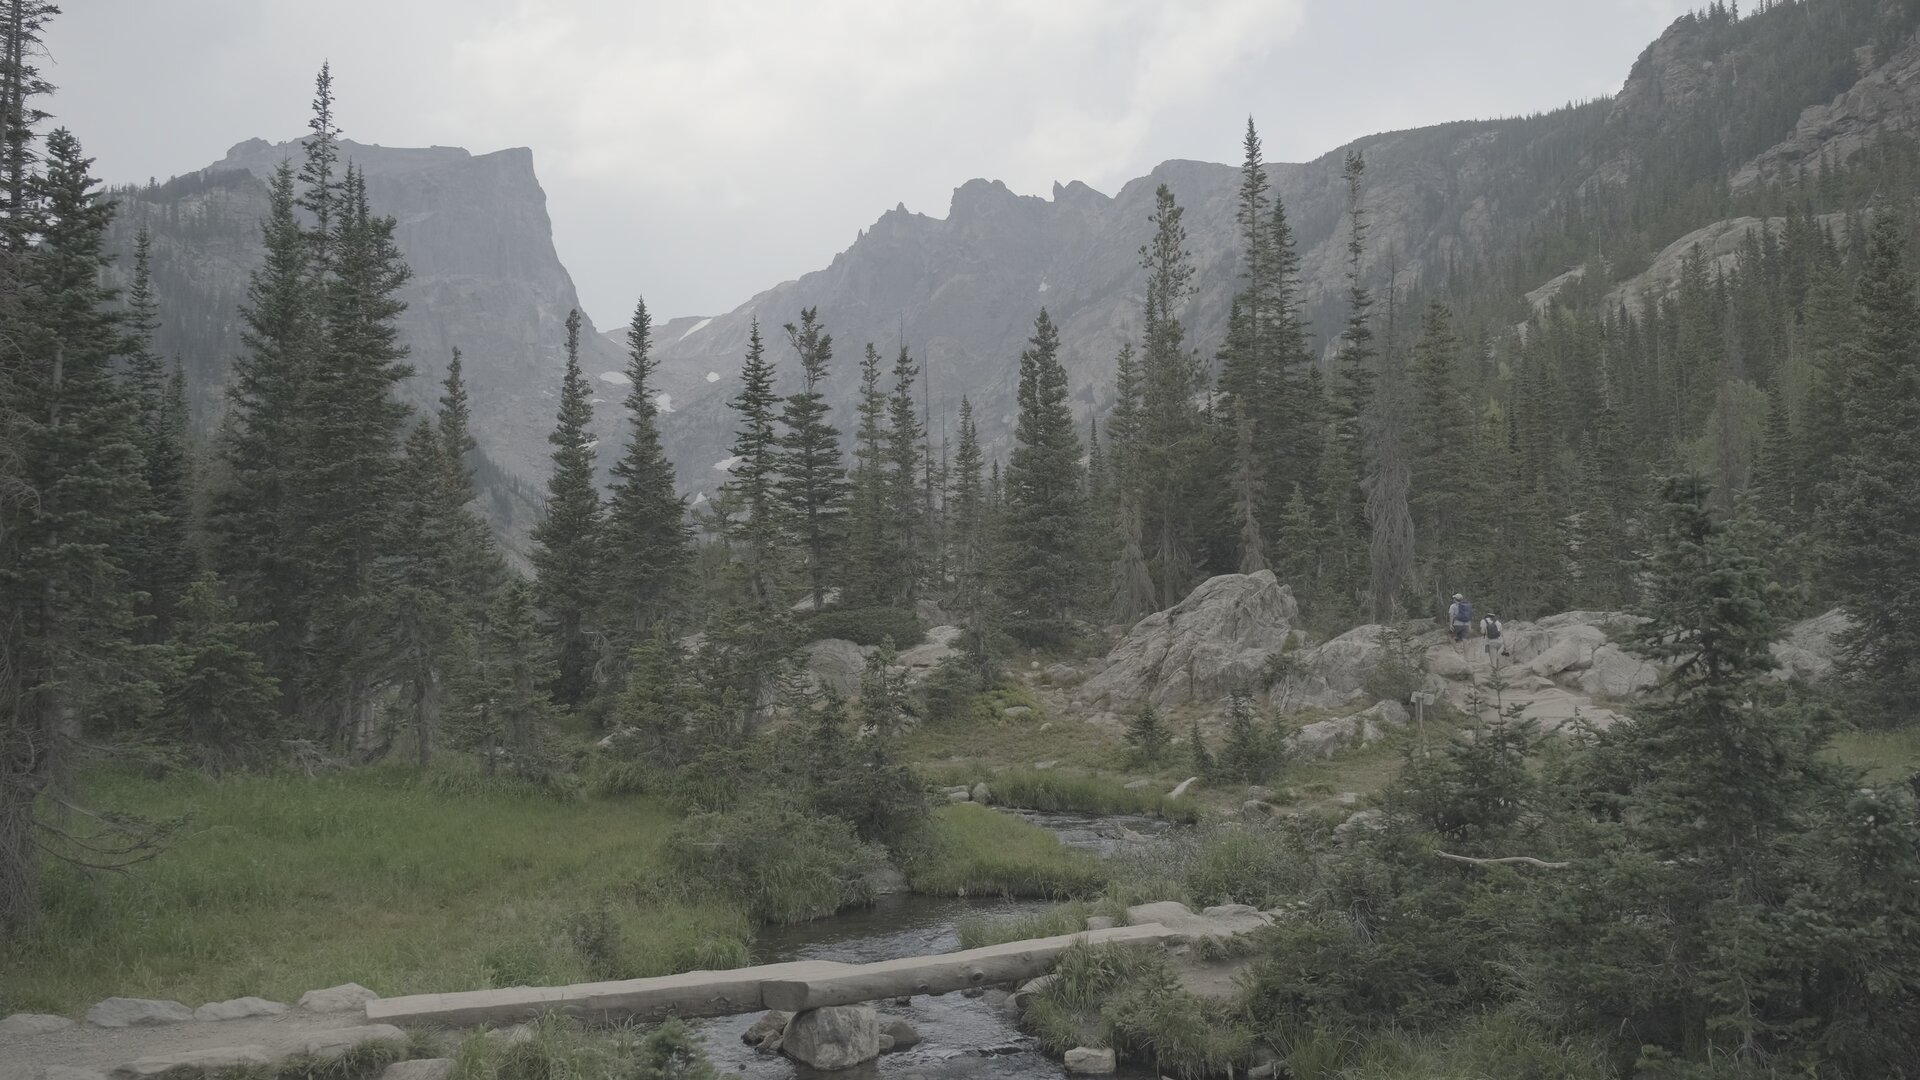
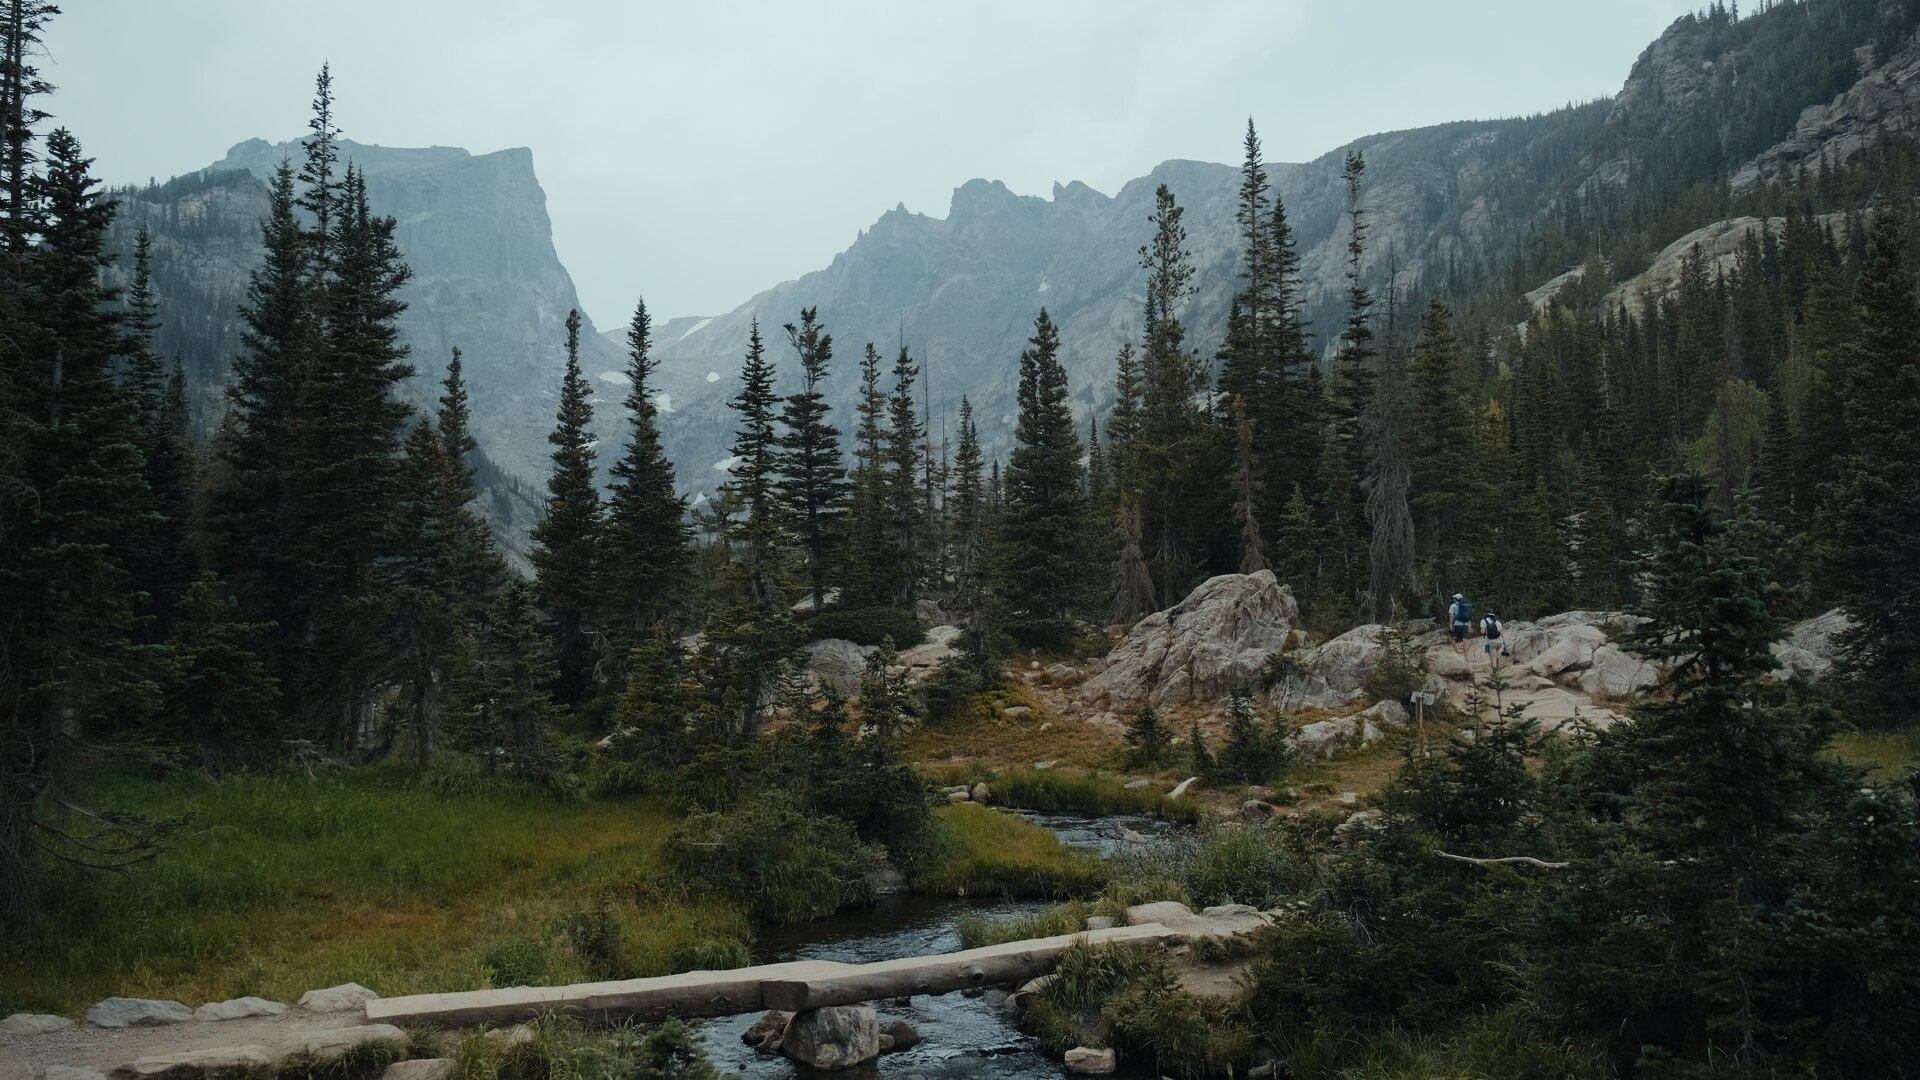
Log (left) vs Rec.709 (right)
Working with standard creative LUTs is pretty straightforward. Balance your footage, choose a creative look, apply the LUT and then adjust the intensity to taste. If you shot in a log format, working with conversion LUTs is equally simple. Apply your conversion first, then perform the proper adjustments, then apply a creative look if you want to.
But what about working with log conversion LUTs with creative looks built in?
This is where things can get a little tricky. Since the creative look is coupled with your log conversion, it’s not as simple as adjusting the intensity of the LUT to get the look you desire. This is because with any log conversion, it is not advised to change the intensity. Rather, you should make adjustments before the log conversion if you wish to change the color balance, saturation or exposure.
Using log creative LUTs can be a great way to save time in your workflow by completing two tasks in one simple step. However, it comes at the slight cost of flexibility and control of the final image.
In this article, I’ll be sharing 3 tips to work with and get the most out of your log creative LUTs.
Fuji F-Log (ungraded)
Graded image with F-Log Creative 03
Use the right LUTs for your camera and log profile
This seems pretty obvious, but there are many different “flavors” of log profiles and you want to make sure your LUTs were designed for the profile you are using. Even within the same brand, like Sony, you’ll find different formats designed for different purposes, for example S-Log2 and S-Log3. If you have mismatching LUTs to the format you shot in, you might run into issues like overpowering contrast, out of gamut colors, and inaccurate skin tones.
You’ll end up trying to make corrections to fight the LUTs rather than working with the LUTs to create the best image possible.

Make adjustments before the LUT
Since the log conversion is coupled with the creative look, you shouldn’t adjust the intensity of the LUT. If the LUT is too strong for your taste and you want to bring down the contrast and saturation, make adjustments to the image upstream from the LUT. This could be done simple in Resolve by creating a new node before the LUT node, or in Premiere Pro or Final Cut by creating a new color correction effect before the LUT effect. (By before I’m talking in terms of the image pipeline, not necessarily the order of operations.
By adjusting the source image that is being fed into the LUT correction, we can manipulate the output without changing the intensity of the LUT.

Shoot with the LUTs in camera
If you have the ability to load LUTs into your camera or monitor while you’re shooting, this will give you a huge advantage over how the final image looks. You’ll be able to make decisions on set based on your intended final look. This means you’ll be able to adjust lighting, exposure, and make set design and wardrobe to look the best it can be when sent through your creative look.
Since most cameras only allow you to apply one LUT, having the log conversion and creative look coupled into the same LUT is actually a huge advantage in this scenario.
Like all of the other equipment in your arsenal, LUTs are just another tool you can use to get the job done at the highest quality possible. Whether you’re using log creative LUTs to save time or preview a look in camera, you now have the tools to make the most of your image.